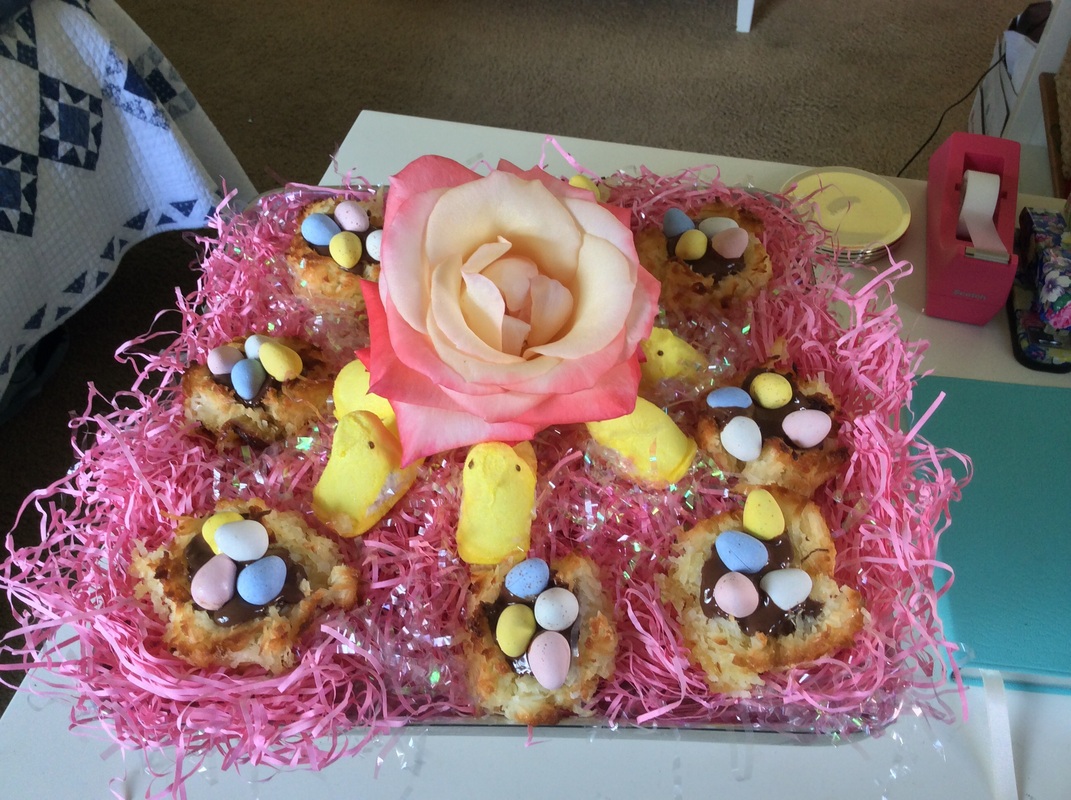
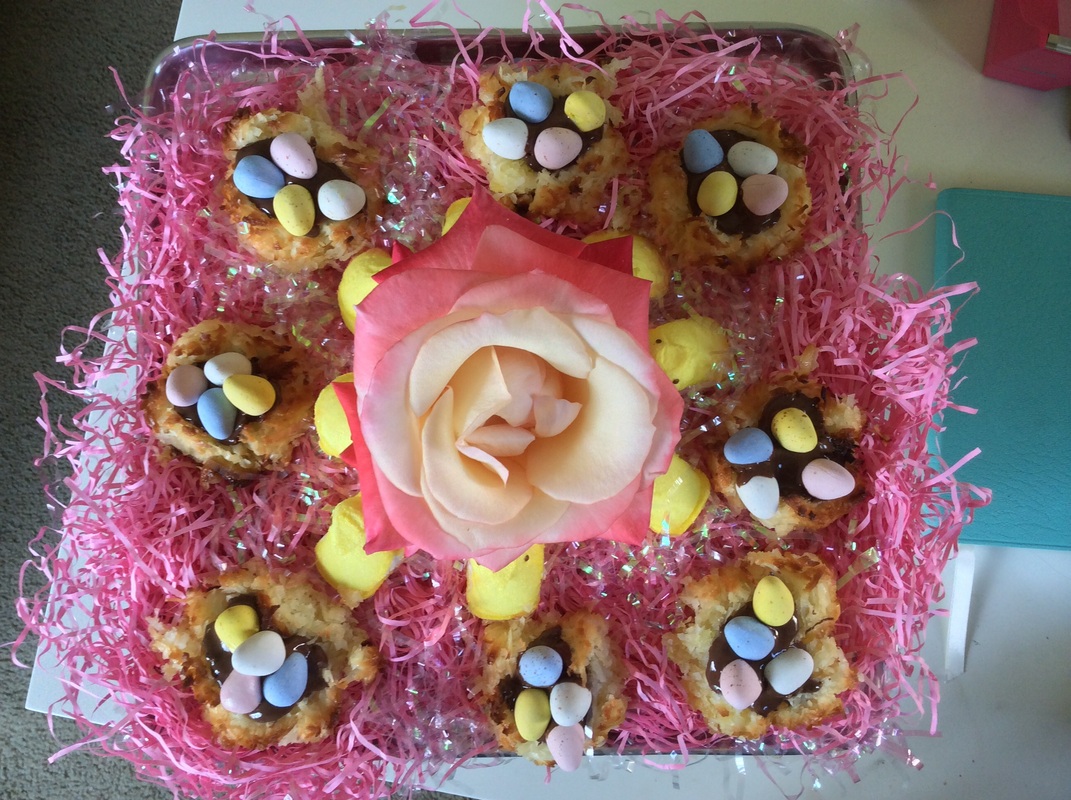
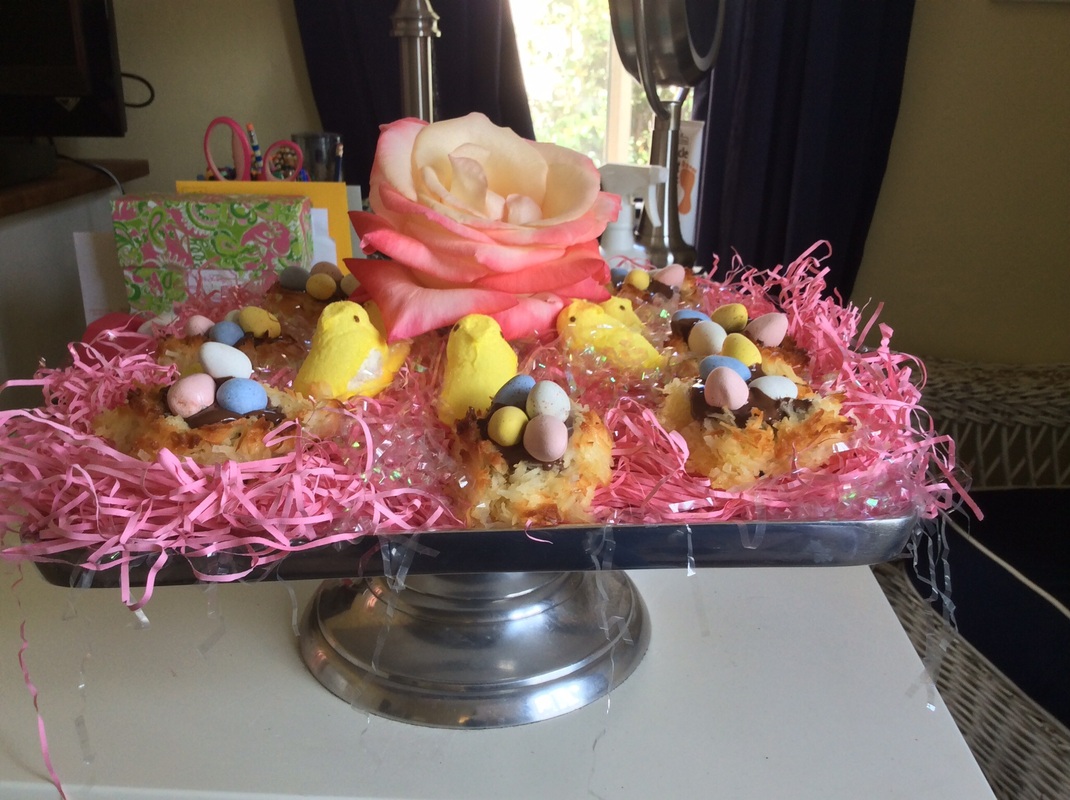
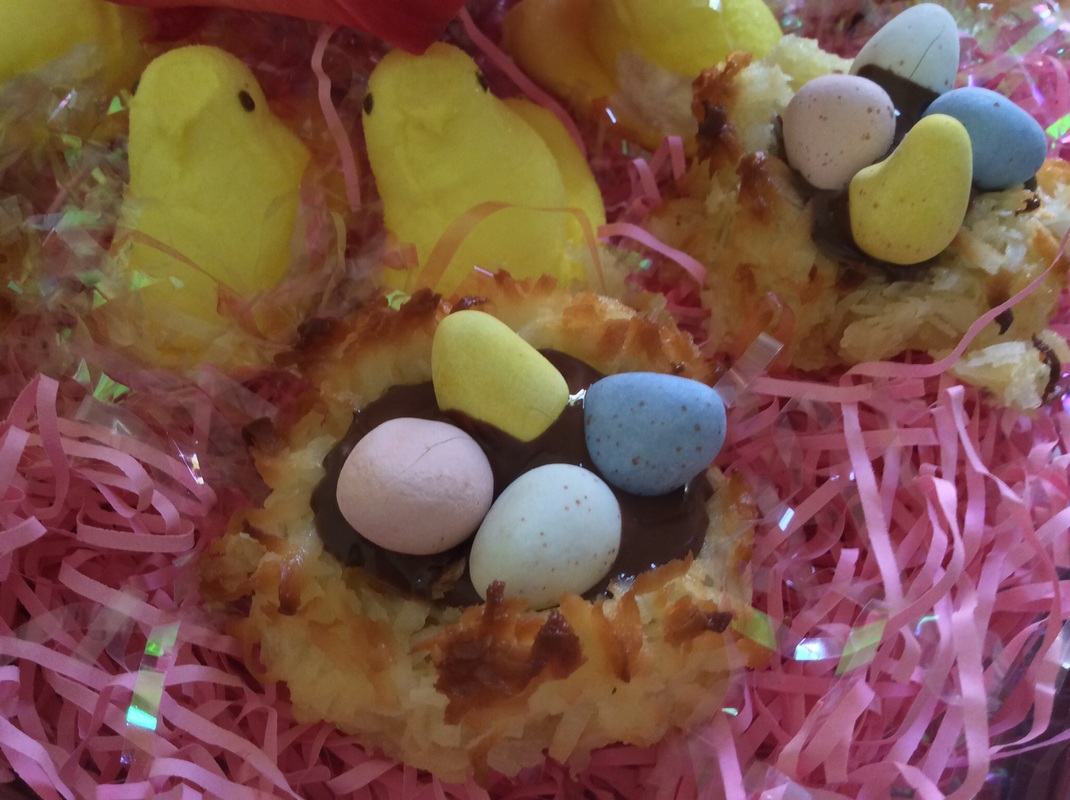
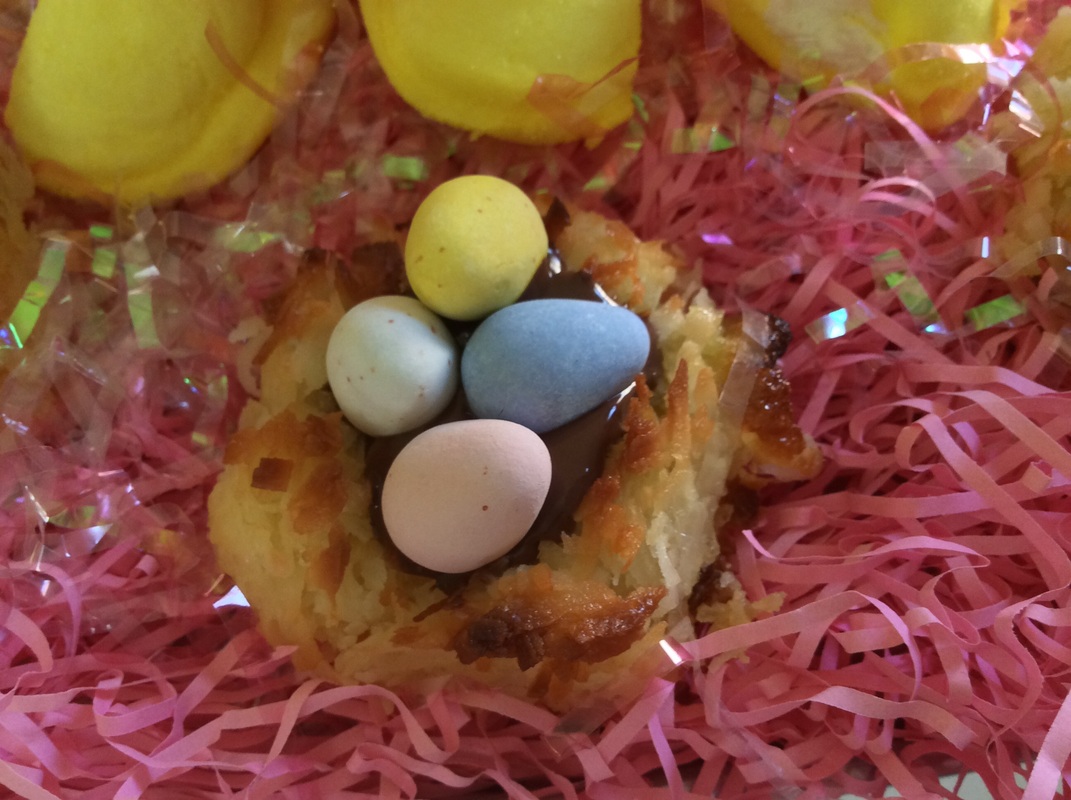
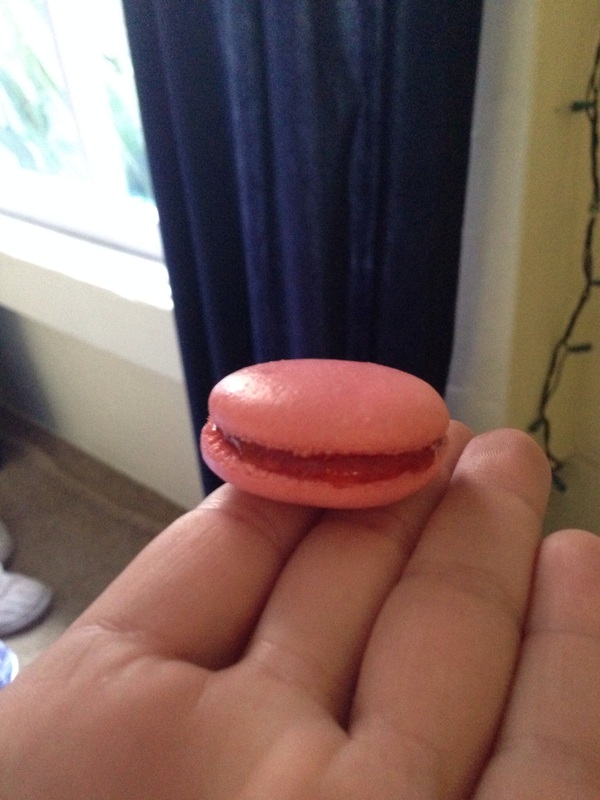
 I decided as a final learning experience for my 20 % project I wanted to sign up for a cooking class that would enhance my learning in a more guided and professional way. I was wandering through Pinterest when I came across a store that offered numerous cooking classes: Sur La Table. To my delight, they were offering a "Basics of French Pastry" class at the location near me. I signed up and soon became very excited for what would be my first class. I knew that this experience would be a wonderful way to round out my learning experience.  As this was my introduction to cooking classes, I had no idea what to expect. I was anticpating spending the 2 hours of class time whipping up some tasty desserts all while wearing a white apron and hat. Ok, so I figured the former part of the sentence would be true- probably not the latter. As I enter the class, I was assigned to a cooking counter with two other people. I learned that I would be sharing in the experience with them, including ingredients, tools, and final product. At this, I was a little dissappointed. While I am a very social person, I was hoping to be able to have the entire experience myself. The couple was very nice and it was fun working with them in the end. 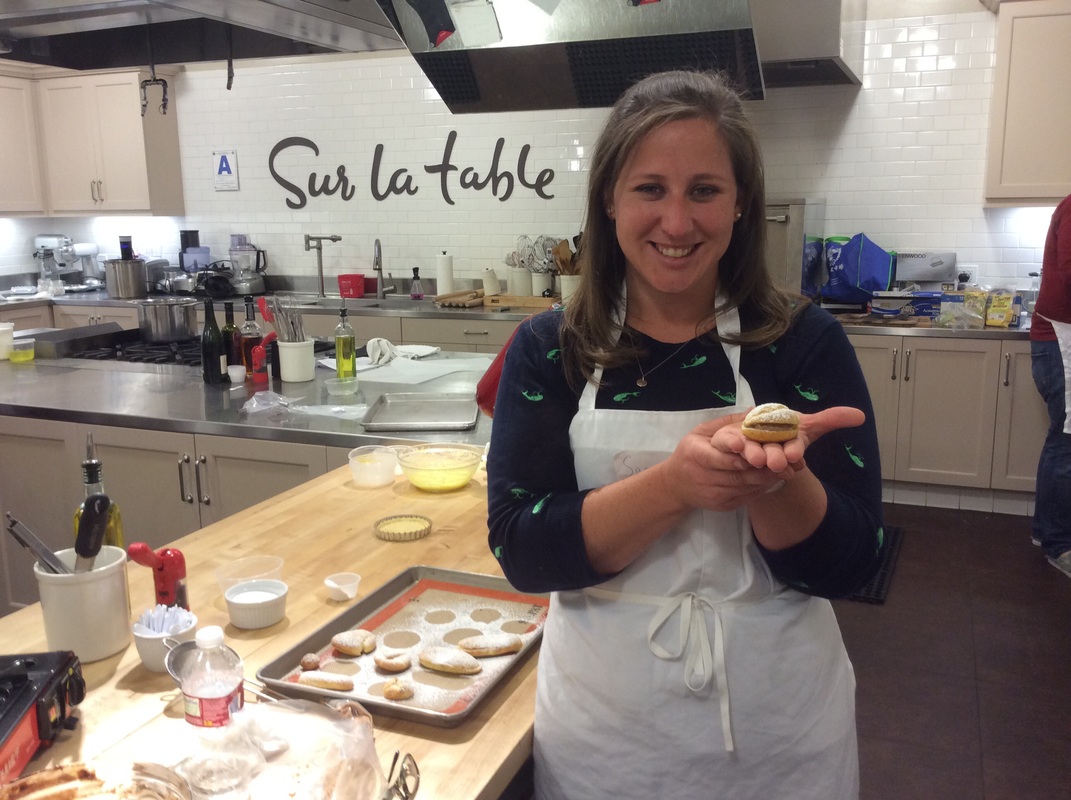 The goal of the day was to make two separate items: a Pate Au Choux and a Lemon Meringue Tart. I was happy to be making both as they were both new experiences for me. Pate Au Choux is a versatile dough for French Pastry making that can be used in many different desserts, especially eclairs, cream puffs, or profiteroles. As I had studied about this in one of my earlier projects, I was ready to put my knowledge to the test. As for the tart, I had never made a tart shell before but I had made a lemon meringue. I learned about the difference between the types of Meringues and when/where they are most effective. My only dissappointment was that the staff at Sur La Table ended up rolling out the tart shells and placing them into the pans for us. Other than that, we were able to make everything else from scratch. It was a great experience being able to make French Pastries in a location where I had every tool or ingredient imagineable at hand. As a culmination of this project, I have found that I have learned so much about the art of making pastries and other desserts. I have such a great love for baking and feel truly lucky to have been able to take the time to learn and explore in the kitchen. I look forward to finding a way to keep up with the baking, and after this class, maybe even take another Sur La Table class in the future! 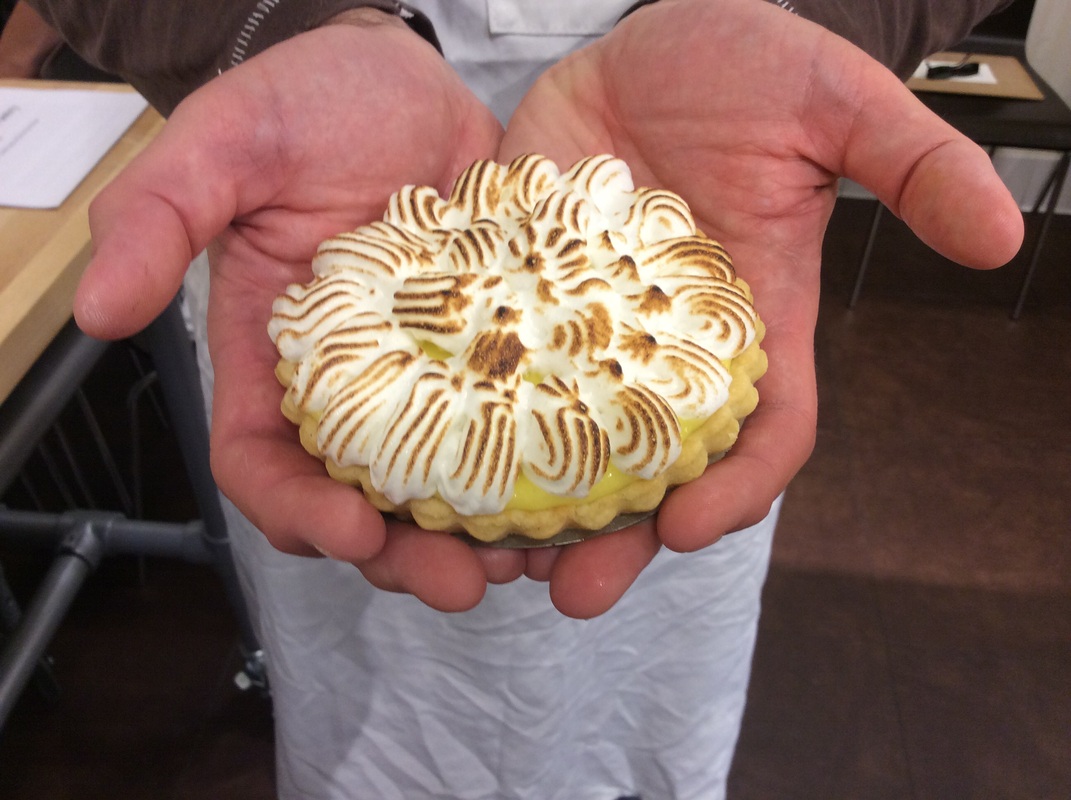 For those who celebrate, happy Easter! For those who don't, happy spring! I love to celebrate holidays, and Easter is a great one for extremely cutesy things to bake and make. I decided to use Pinterest to find a recipe to make for this week, and was super excited to see one posted by celebrity Lauren Conrad. She has created an online persona and brand with a very large following. On Pinterest, she has boards that link to food, clothes, and other day-to-day hobbies for her followers. All the pins link to her website where she hosts all of her happenings. The recipe I made was for Macaroon Bird Nests. These cookies have a tasty coconut base topped with a drop of Nutella and a sprinkling of Cadbury Mini Eggs. I especially wanted to test out this recipe to have a comparison in making French Macarons and American Macaroons. While both have few ingredients, the level of complexity and chemistry is exretemly different. Macarons are a delicate sandwich cookie that requires a certain amount of strokes while mixing to reach the correct consistency. Macaroons are a drop cookie that do not have as many parameters to achieve success. However, I know from experience they are both very tasty! Lauren Conrad did not create this recipe, but she did receive the recipe from a friend who is a chef. I wanted to do this recipe because I thought it would be a nice and easy recipe to tackle in the middle of a busy week. It is adorable, yet still packs a lot of punch for some Easter-y holiday spirit. I was unable to get pictures of the baking process, but it was a very doable recipe! It was definitely the easiest recipe I have tackled thus far. I was able to complete it in about 2 hours (accounting for all the preping, baking, cooling, and decorating). Enjoy some of the pictures from the final product, including the recipe, below! 
Ingredients:
Instructions:
Through this 20% Project, I have found that my passion in baking is definitely stemmed from my eagerness to provide tasty treats for friends and family. This week, I would like to dedicate my researched recipe to my #1 hero: my dad. Growing up, my dad was found in the kitchen as frequently as my mom, and was one of the main reasons I enjoyed baking. He has the BIGGEST sweet tooth and loved sampling all the desserts I would test out in the kitchen. His mother (my Grandmama) was a home economics teacher in High School and loved to cook. His birthday is this week, and I decided that I wanted to find a recipe that would satisfy his palate. As a lover of peanut butter and chocolate, I decided to go to Pinterest to see what I could find. I had trouble finding a French Pastry to suit the occasion and ingredients, so I decided to open up my search to include all desserts. I stumbled upon a tasty dessert from one of the boards I follow: Southern Living Magazine. I found a delicious looking "Cinderella Cheesecake": a chewy brownie batter crust that is enveloped by a creamy peanut butter cheesecake, topped with whipped cream and chocolate chips! A delicious looking dessert for the best dad! 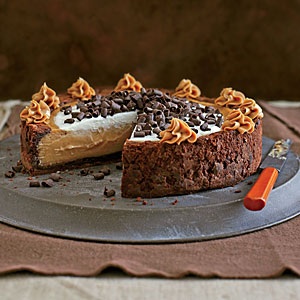
Ingredients
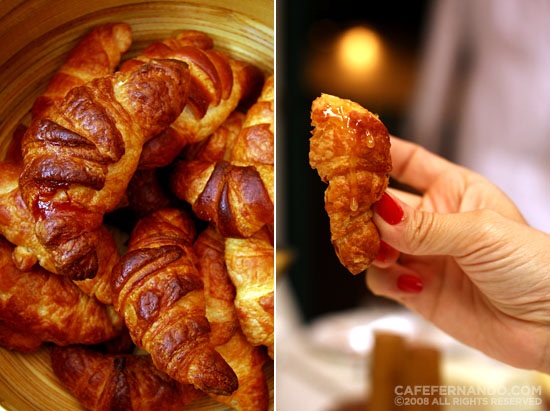 One of the biggest downsides of having a small kitchen is the inability to test out certain recipes that might require a bigger space. The most coveted recipe I have wanted to try: the French Croissant. When I was in Paris in 2012, I made my way through the different arrondissements testing out every acclaimed pastry shop. Croissants are as prevenlant in Paris as we might find a basket of bread. The most wonderful part- they are almost always buttery and delicious! As I began to investigate the internet for the best recipe, I found that the recipe was not nbecessarily the most important part of making croissants. These sweet treats are time-invasive and procedure-intensive. Essentially, if the ingredient amounts differ slightly, you should be fine. However, if your butter is not handled in the proper amount of time or at the right temperature you might be in trouble. There was no particular recipe I found that outshone the others, but there was one guru that many food bloggers consulted 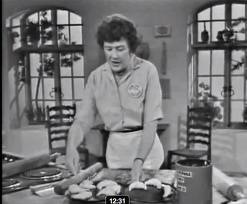 Julia Child's episode from "Baking with Julia" on croissants, featuring guest chef Esther McManus, was referenced many times on the food blogs I follow through Pinterest. Again, the recipe might not have been universal, but many of the bakers utilized her technique and tips in order to make the best croissants. She gave very practical tips in the episode on how to maintain the correct consistency. She also discusses how to make Pain Au Chocolate, which is a version of a croissant that includes tasty chocolate on the inside. This goes to show how well Julia instructed on French cooking, in addition to being able to stand the test of time! Find the detailed recipe from "Mastering the Art of French Cooking" here!
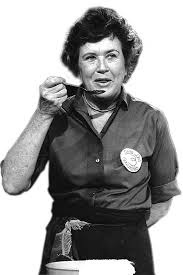 As I am two months into my project, I cannot believe I have taken this long to talk about one of the best pastry chefs to ever grace our bookshelves or televisions: Julia Child! Julia was a beloved American chef who made cooking French food seem like a piece of cake (cue the "ba dum chh" on the drum). Her first book was "Mastering the Art of French Cooking" and was released in 1961. Soon after in 1963, she starred in her first televsion show "The French Chef" that showed off her culinary skills in the kitchen. Her popularity came about because of her endearing and kind manner, along with the fact the American culture began a love affair with French culture. To this day, she is still considered one of the best chef celebrities and cooking personalities to have graced our televisions. My father often reminisces how much he loved watching her shows as a kid and how she made cooking fine food seem like it should be a part of everyones cooking habits. Below is my Grandmama's copy of "Mastering the Art of French Cooking" from the 60's. 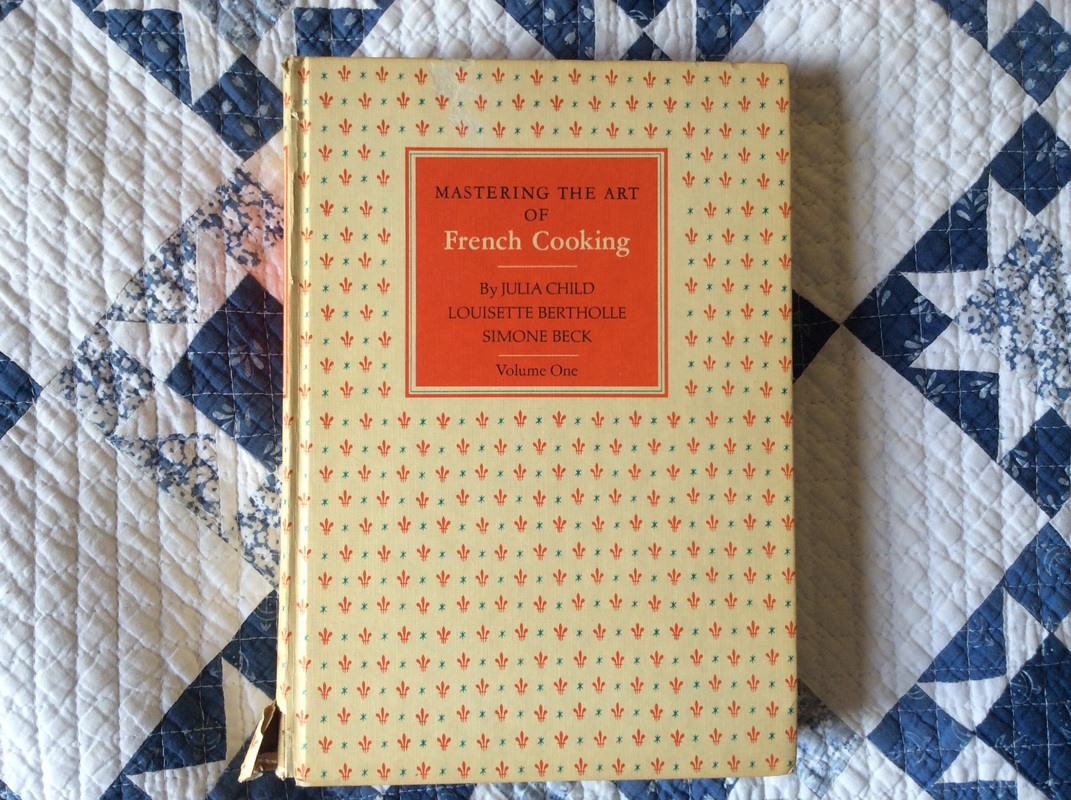
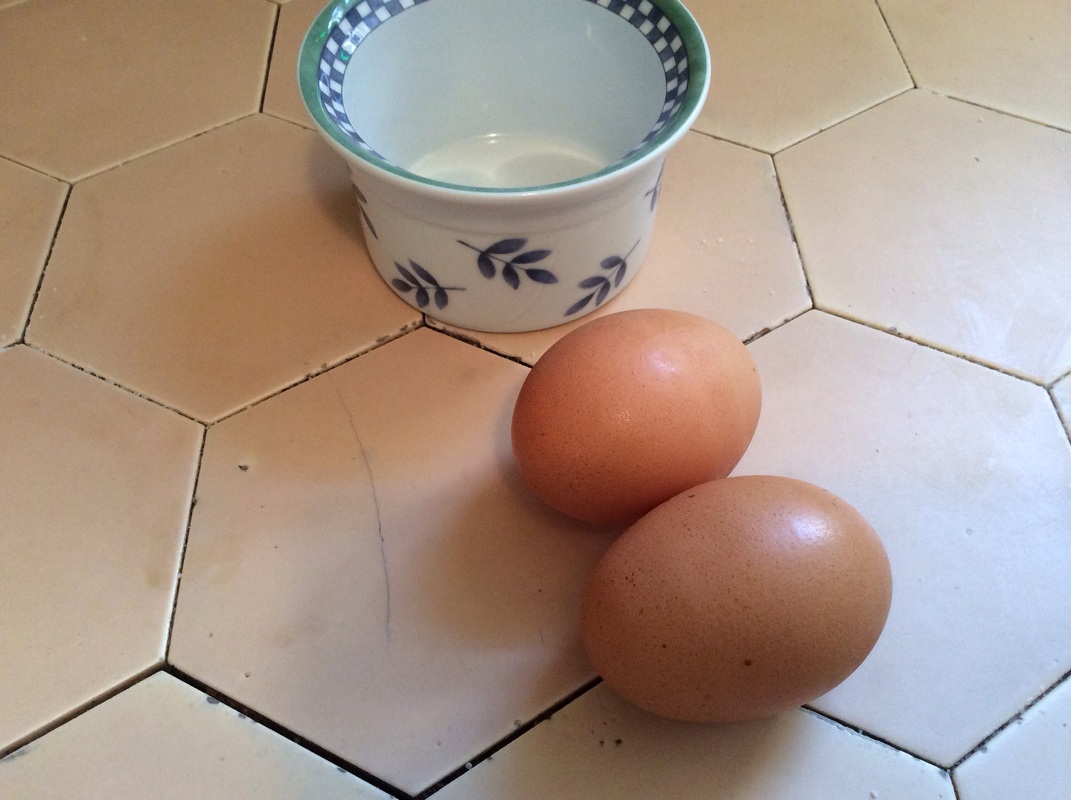
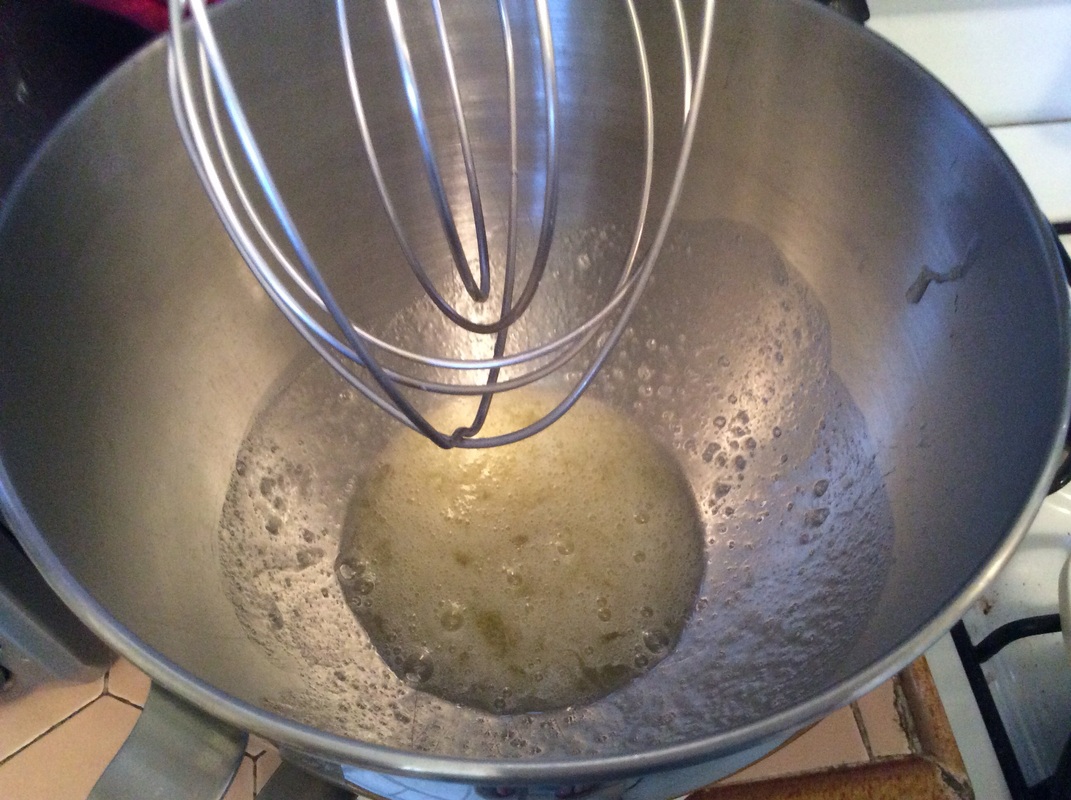
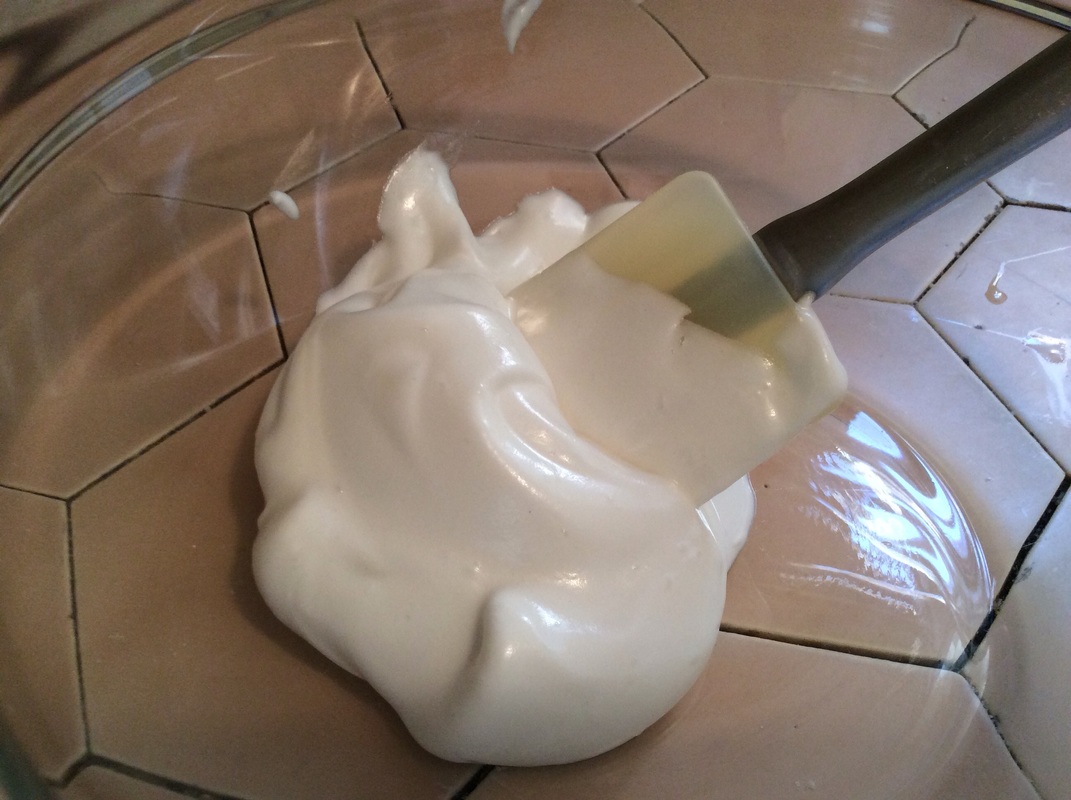
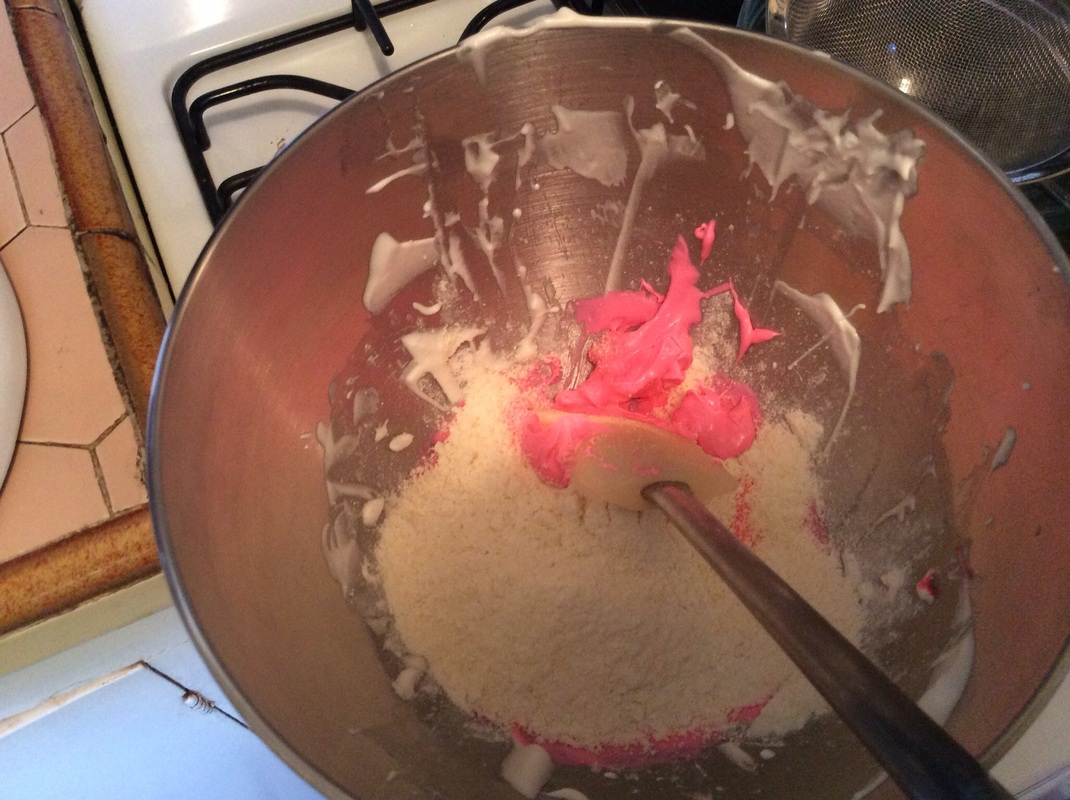
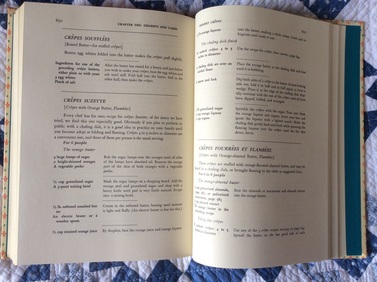 I began to look through old videos of her show, watching some of the techniques. One that I cam across that piqued my interest was on French Crepes, a light pancake that can be served with savory or sweet dishes. This particular crepe she was cooking was a crepe Suzette. I loved that when I looked in my Julia Child cookbook, I was able to find the recipe and follow along with the show. She really was a master in the kitchen and a true inspiration for all those who are attempting to become better French Chefs! 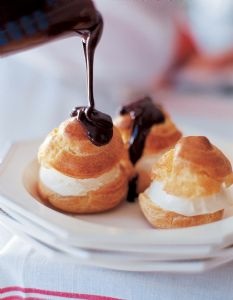 After last week's successful attempt at Martha Stewart's macarons, I decided I really enjoyed looking to one of my baking gurus for advice, recipes, and knowledge. In my own time, I constantly turn to some of my favorites when decided what to cook. One of the best French recipe experts that I enjoy using as a resource is the Barefoot Contessa herself, Ina Garten. Ina is known for her cooking and recipe ideas, and most of her food is guest oriented for entertaining. One of Ina's mottos is, "My friends don't have more fun if I spent the day making dessert." This is a principle that I find to ring very true. Often times I will attempt complicated desserts for dinner parties and will often have to leave frequently to stir, bake, flip, etc.It is a nice thought that if it is too hard to make that it is better for others if you can prepare ahead by baking it ahead of time or buying a nice dessert at the store. As I continue my path as a baker, I would love to try to adhere to this motto and make it one of my own. This week I was out of town for Spring break and unfortunately unable to spend any time baking in the kitchen. As I was looking online for different types of recipes, I stumbled upon to some youtube videos from her Food network show. If I had been able to cook this week, I would have attempted to make Profiteroles, a basic yet tasty French pastry that definitely falls under her motto for guest-friendly cooking. I have included the recipe below, along with a youtube clip from the time she made them on her show. Hopefully I will be able to try it soon! Barefoot Contessa: Profiteroles Ingredients 1 cup milk 1/4 pound (1 stick) unsalted butter Pinch kosher salt 1 cup all-purpose flour 4 extra-large eggs 1/2 cup heavy cream 12 ounces semisweet chocolate chips 2 tablespoons honey 2 tablespoons prepared coffee Good vanilla ice cream (recommended: Haagen-Dazs), for serving Directions Preheat the oven to 425 degrees F. Heat the milk, butter, and salt over medium heat until scalded. When the butter is melted, add the flour all at once and beat it with a wooden spoon until the mixture comes together and forms a dough. Cook, stirring constantly, over low heat for 2 minutes. The flour will begin to coat the bottom of the pan. Dump the hot mixture into the bowl of a food processor fitted with the steel blade. Add the eggs and pulse until the eggs are incorporated into the dough and the mixture is thick. Spoon the mixture into a pastry bag fitted with a large plain round tip. Pipe in mounds 1 1/2 inches wide and 1-inch high onto a baking sheet lined with parchment paper. You should have about 18 puffs. With a wet finger, lightly press down the swirl at the top of each puff. (You can also use 2 spoons to scoop out the mixture and shape the puffs with damp fingers.) Bake for 20 minutes, or until lightly browned, then turn off the oven and allow them to sit for another 10 minutes, until they sound hollow when tapped on the bottom. Make a small slit in the side of each puff to allow the steam to escape. Set aside to cool. For the chocolate sauce, place the cream and chocolate chips in a bowl set over simmering water and stir just until the chocolate melts. Add the honey and coffee and stir until smooth. Set aside. For serving, cut each profiterole in half crosswise, fill with a small scoop of ice cream, replace the top, and drizzle with slightly warm chocolate sauce. Read more at: http://www.foodnetwork.com/recipes/ina-garten/profiteroles-recipe3.html?oc=linkback As I started this project, one of the first places I went to for inspiration was a person I view as an icon: Martha Stewart. I have many of her cookbooks and I subscribe to her monthly magazine. On the cover of her latest issues was a recipe for one of my favorite desserts: French Macarons. Since I wanted to try one of her recipes, I thought this particular cookie would be a great attempt for my project. I have tried to bake these difficult cookies in the past (not from Martha's recipe box), but something always went slightly awry. I thought that this particular recipe was manageable, and even if I failed I would learn something out of making this attempt. One of the fascinating aspects of this cookie is the small amount of ingredients. However, it is the process of mixing ingredients where most people make mistakes. If you you over mix the dry ingredients with the egg whites, you will not achieve the correct consistency of the final product (it might be too runny and become flat and chewy). Also, it needs an exact amount of time baking at a particular temperature. Unlike common cookies like Chocolate Chips or Sugar, if it is overcooked or undercooked you will not have the correct consistency. To me, these cookies are very scientific, and were a perfect attempt for my project. Basic French Macarons:INGREDIENTS
DIRECTIONS
The recipe says to allow 1-2 days in the refrigerator. I decided to try one 3 hours after bake time: it was chewy. I was disappointed. The cookie looked perfect, but didn't have the right consistency. I began thinking about what might have gone wrong and put the cookies into the fridge for later. Two days later, I opened the box of cookies and tried one- it tasted exactly like it was supposed to! My biggest lesson learned was listening to the wait time on the directions. I was excited that I made the cookie correctly, and I look forward to attempting to execute this recipe again!
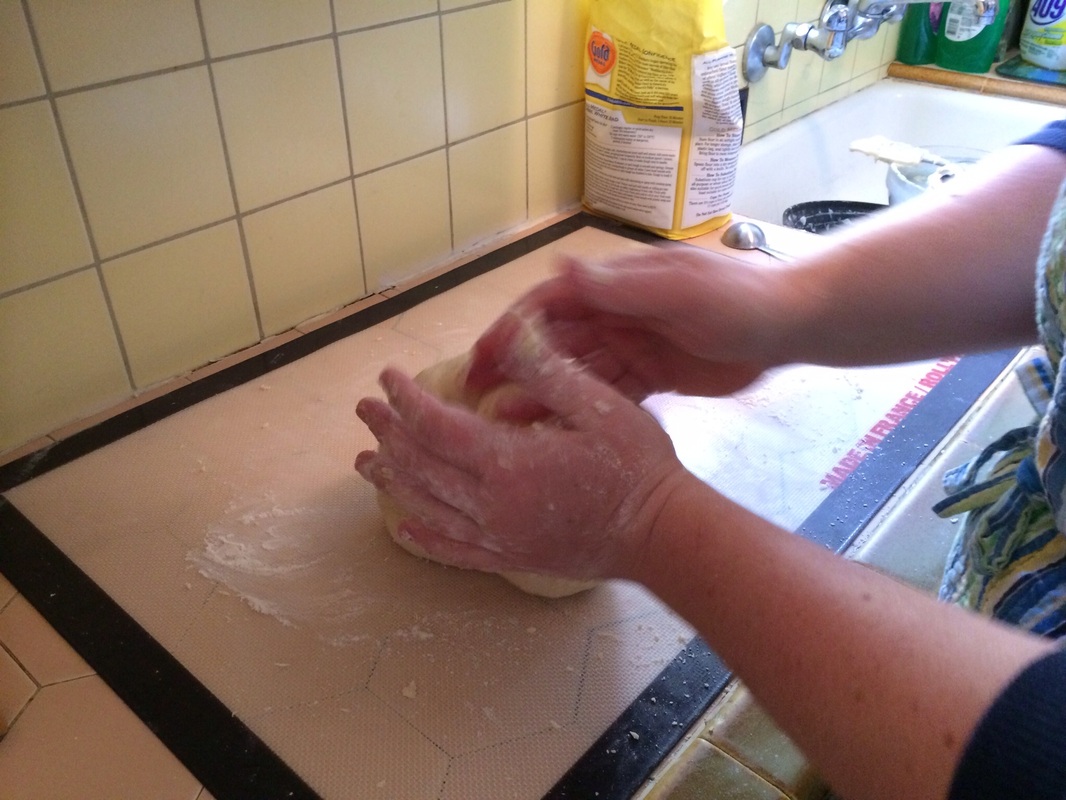
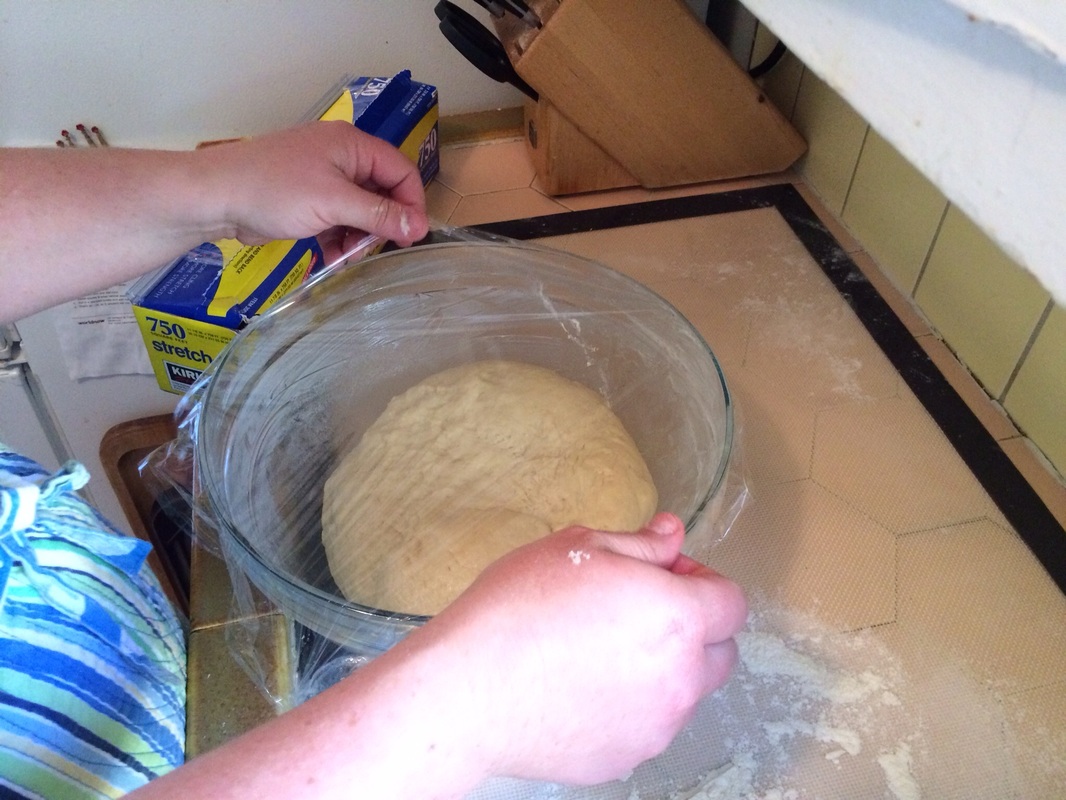
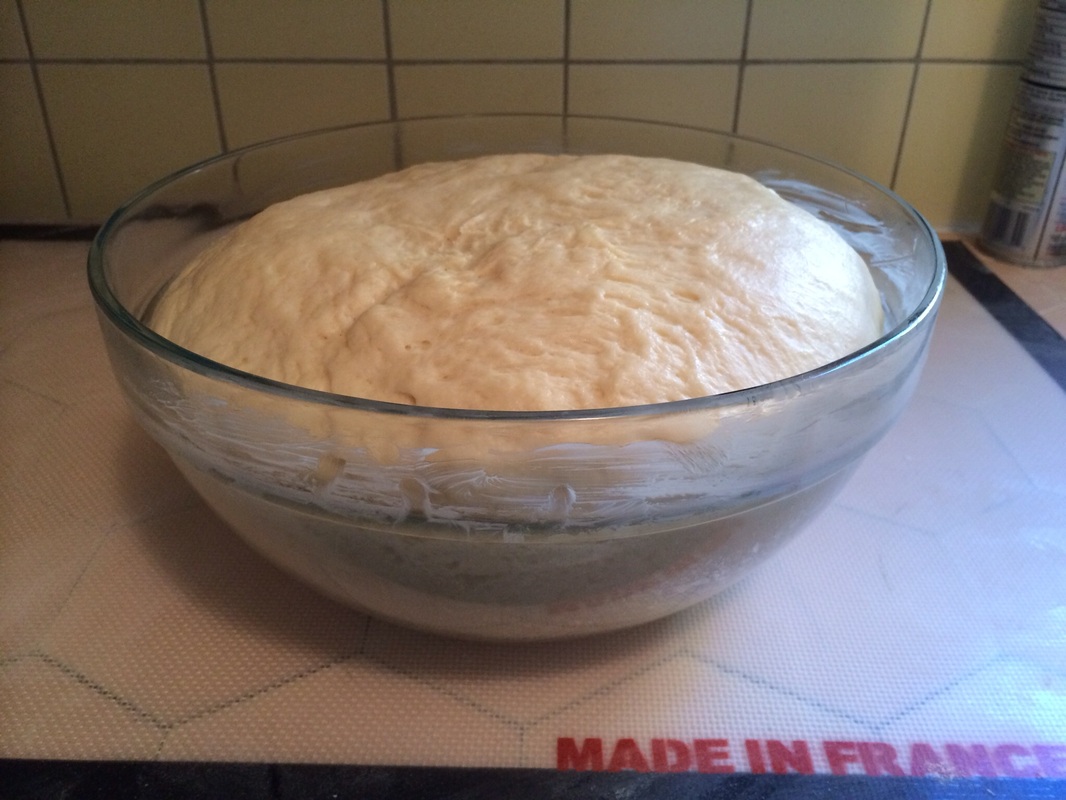
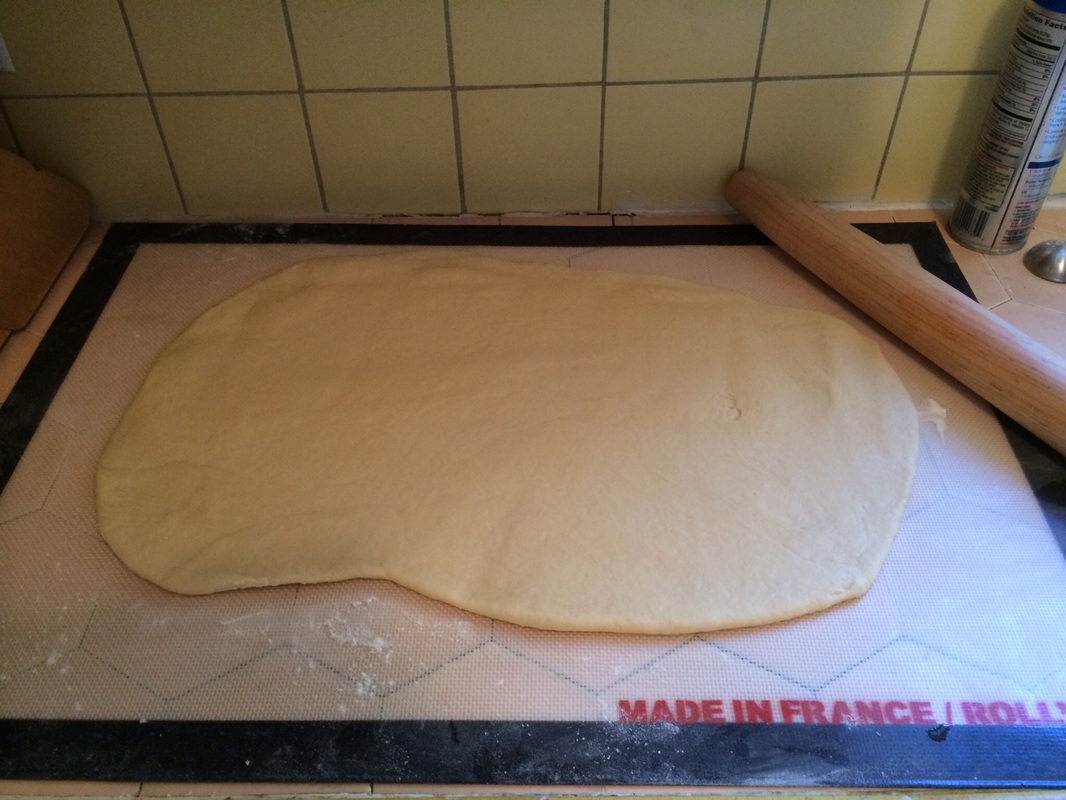
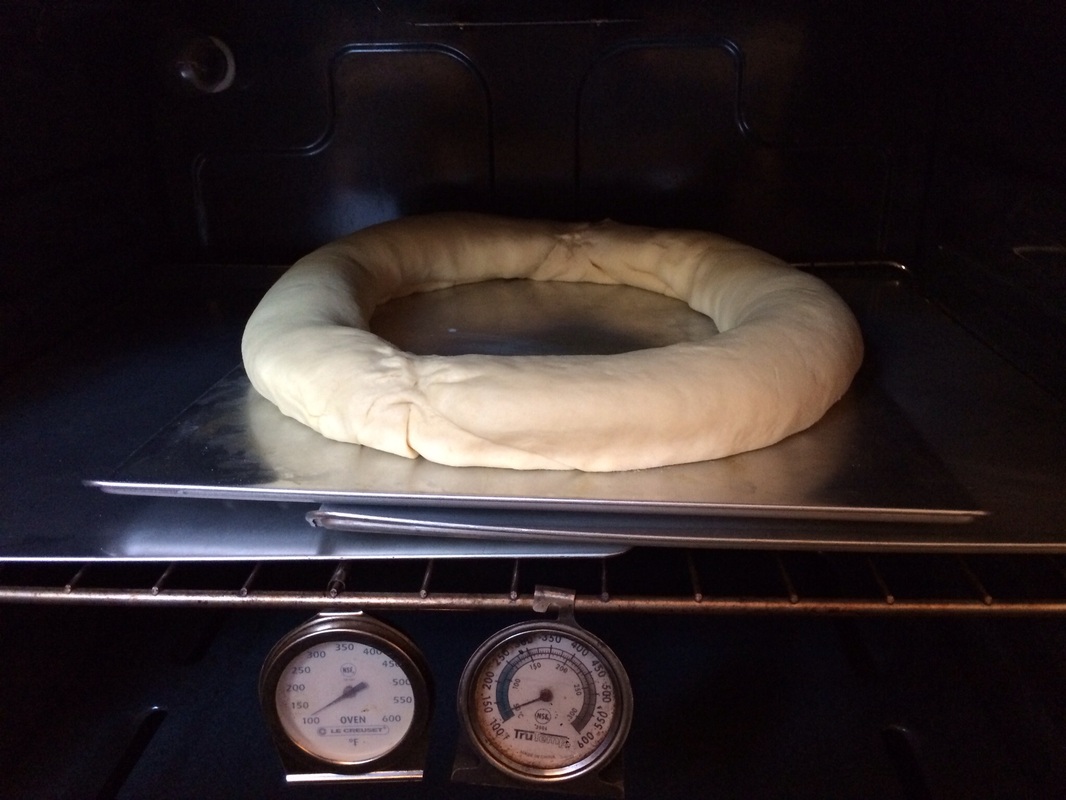
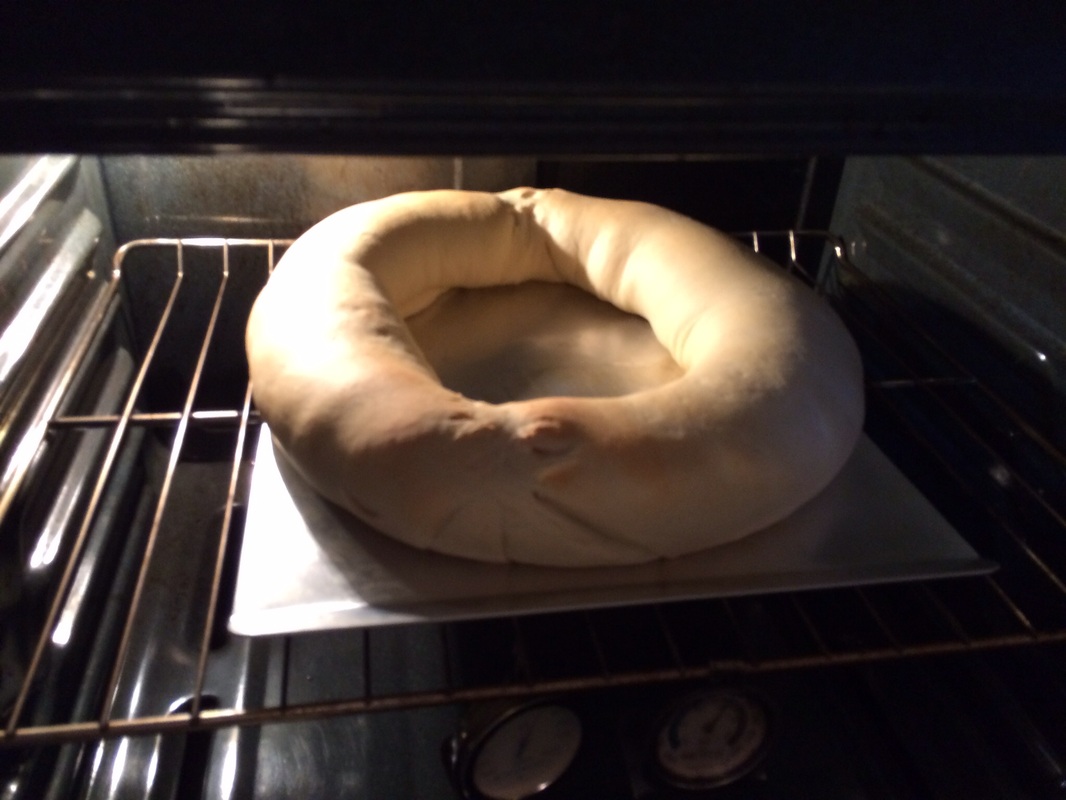
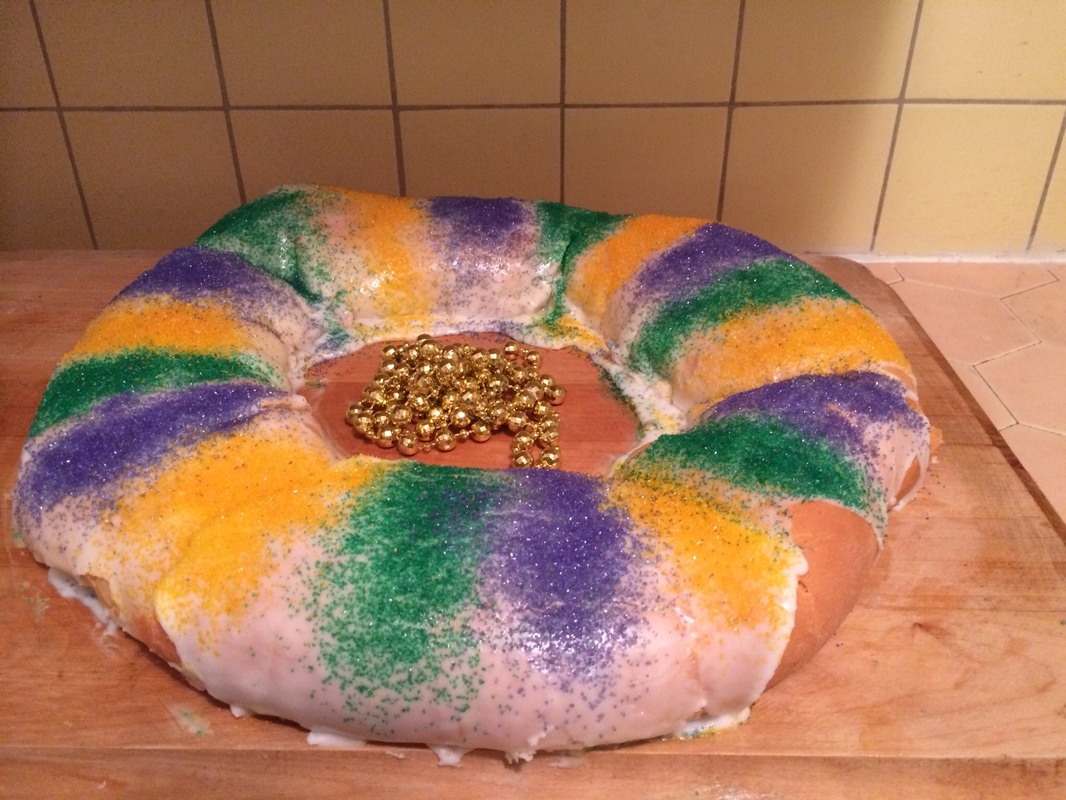
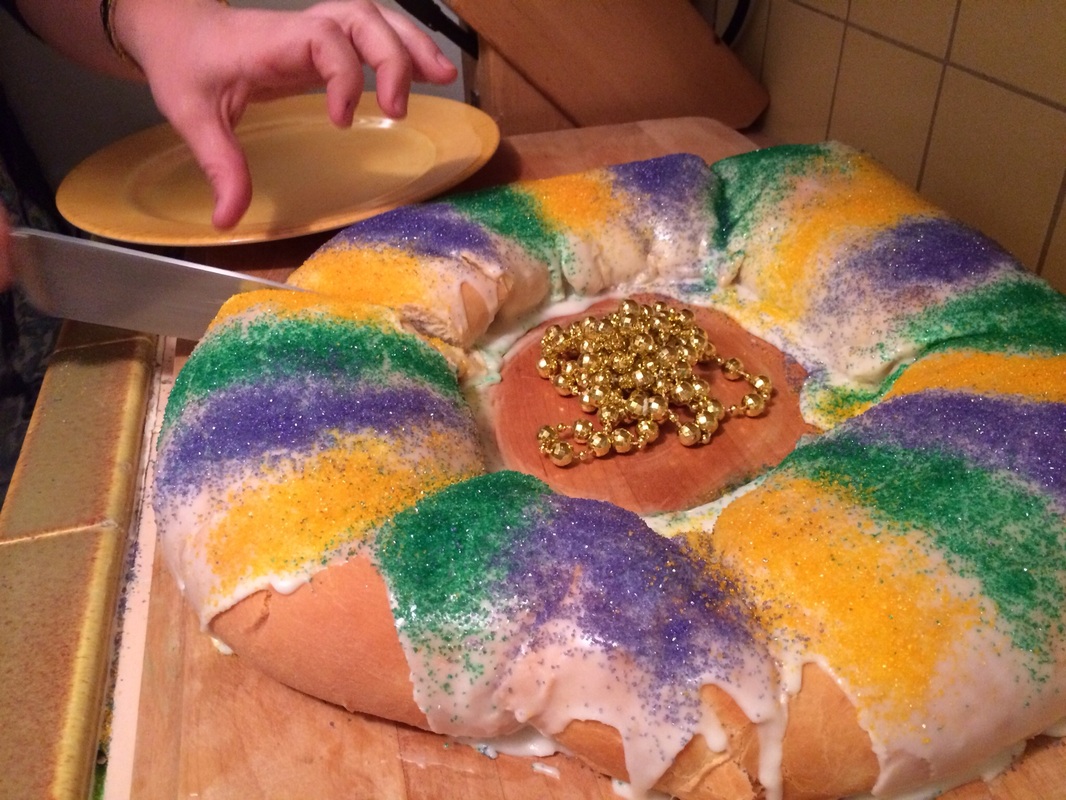
Happy Mardi Gras 2014! For my first Sweet Sara's adventure, I decided to bake according to the nearest holiday. Lucky for partiers, this holiday turned out to be Mardi Gras, which falls upon March 4 this year. The most popular dish served during this time is known as the King Cake The tradition of the cake is of Catholic Origin, and celebrates Mardi Gras, or Fat Tuesday, the day before Lent. The cake is a symbol of the celebration before Ash Wednesday, the beginning of the 40 day long period of Lent in which many cultures spend time refocusing their faith through fasting. In America, many cities celebrate Mardi Gras, however none hold a candle to the city of New Orleans and the festivities that take place there during the Mardi Gras season. In wanting to cook for Sweet Sara's, I found that the King Cake would help me fulfill my passion for making labor intensive pastries. The cake is a yeast cake, and takes several hours to make. I wanted to make it all from scratch, and get real practice in making different a new and different type of baked good. I decided to go to Pinterest to see if I could find inspiration there. I follow Southern Living, a magazine that provides recipes esteemed in southern tradition. I decided to use their recipe, as it is supposedly a very close example of a Louisiana style King's cake. Below is the recipe which I followed as closely as possible.
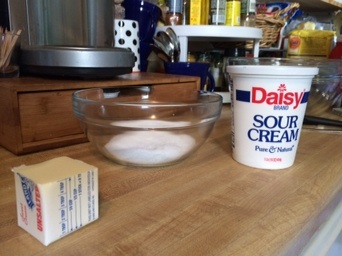
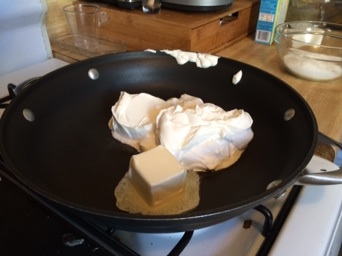
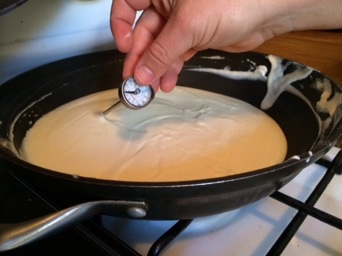
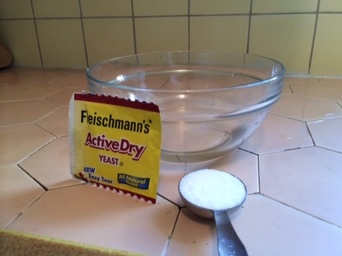
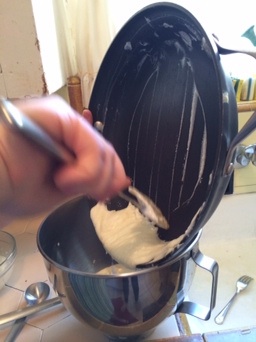
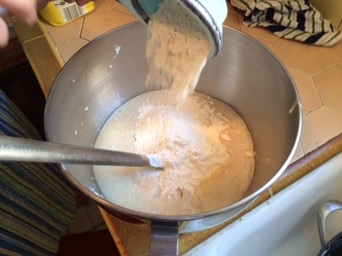
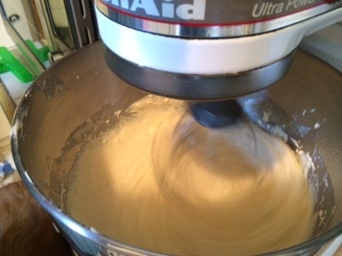
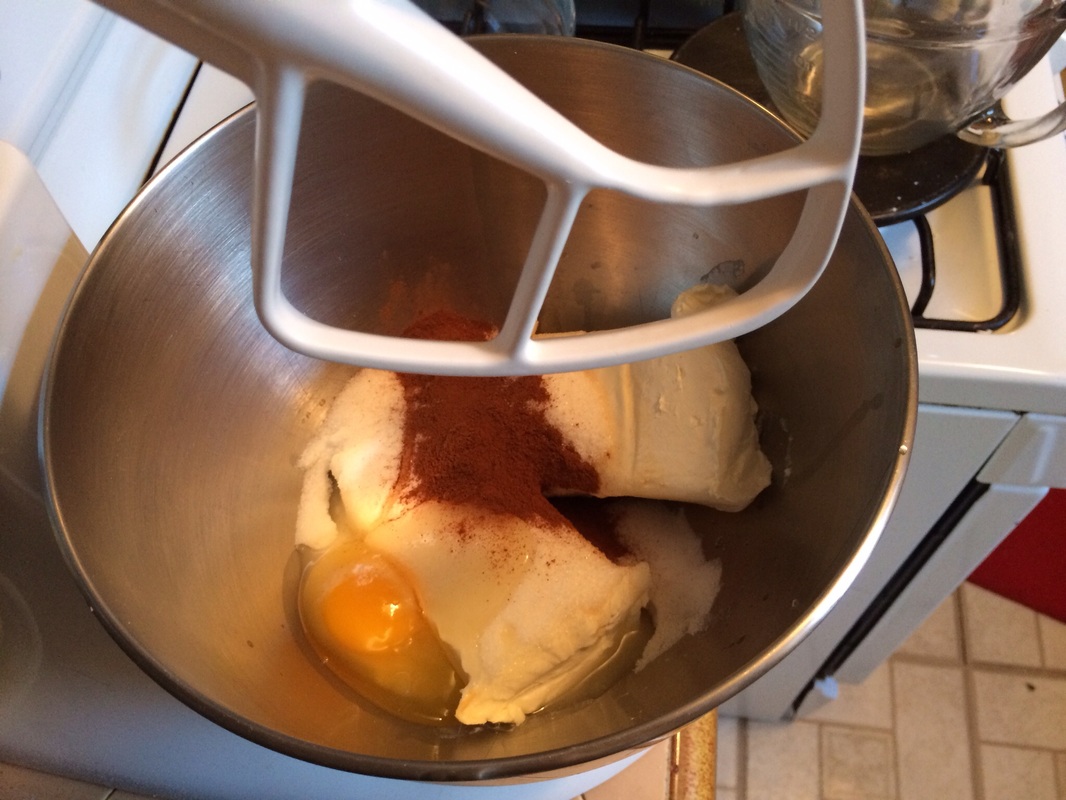
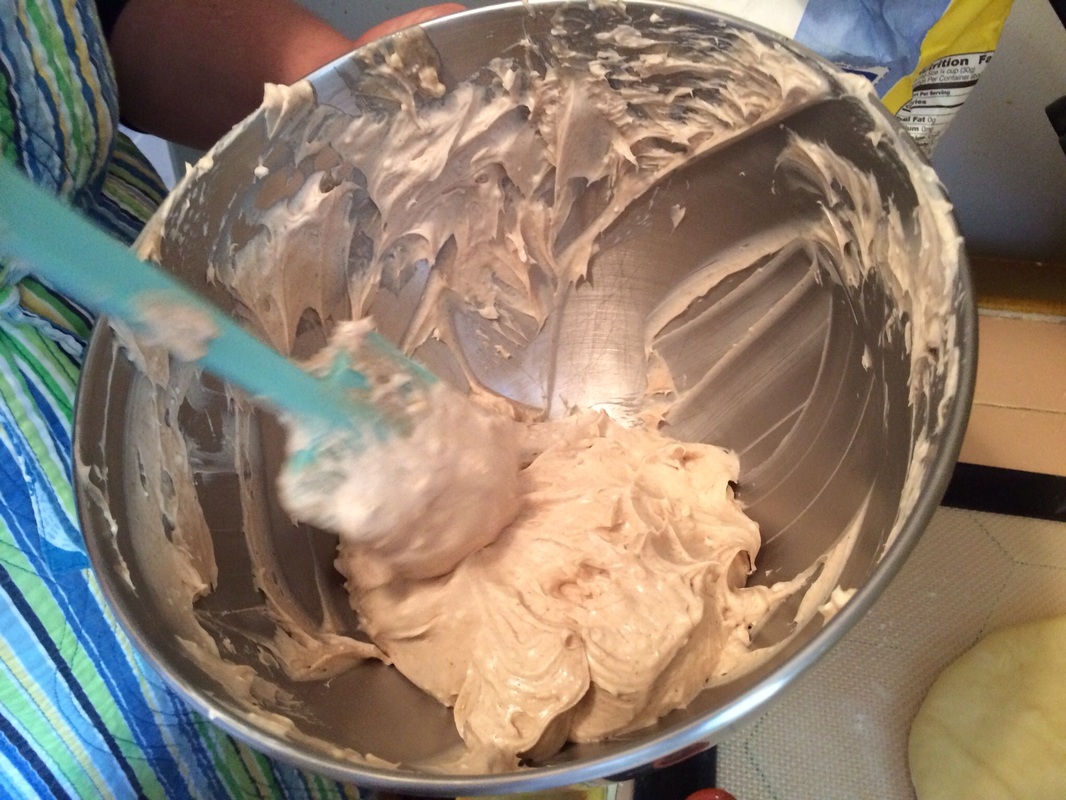
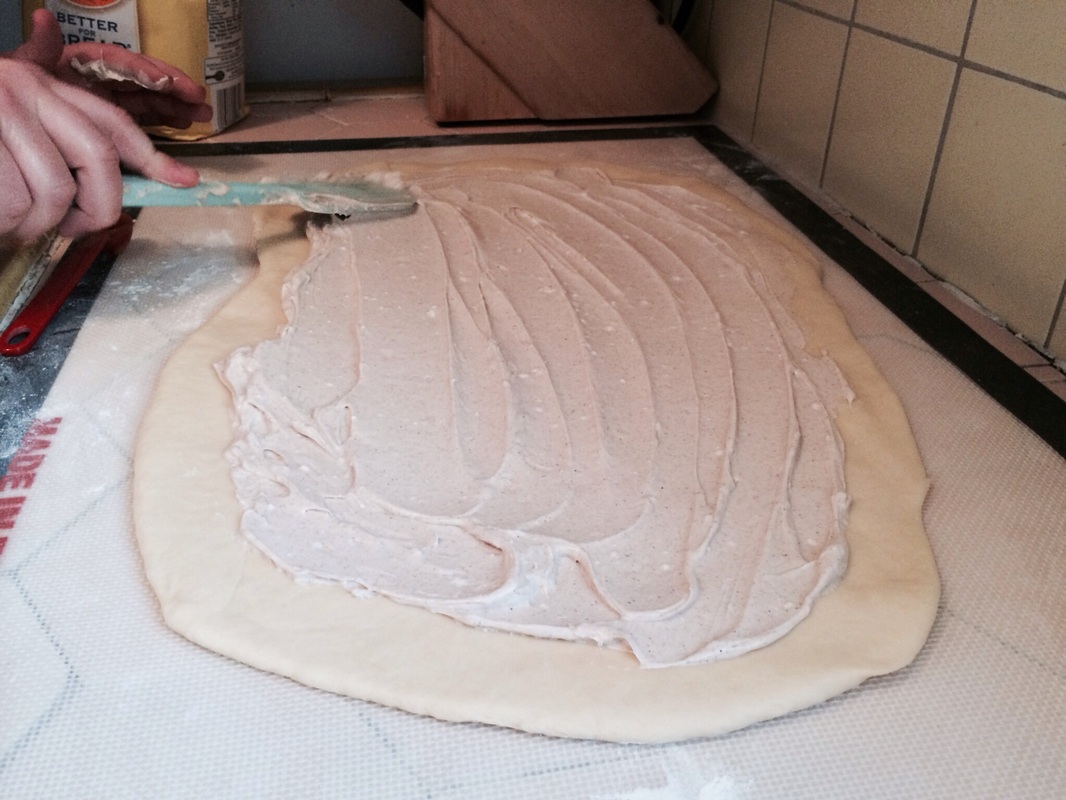
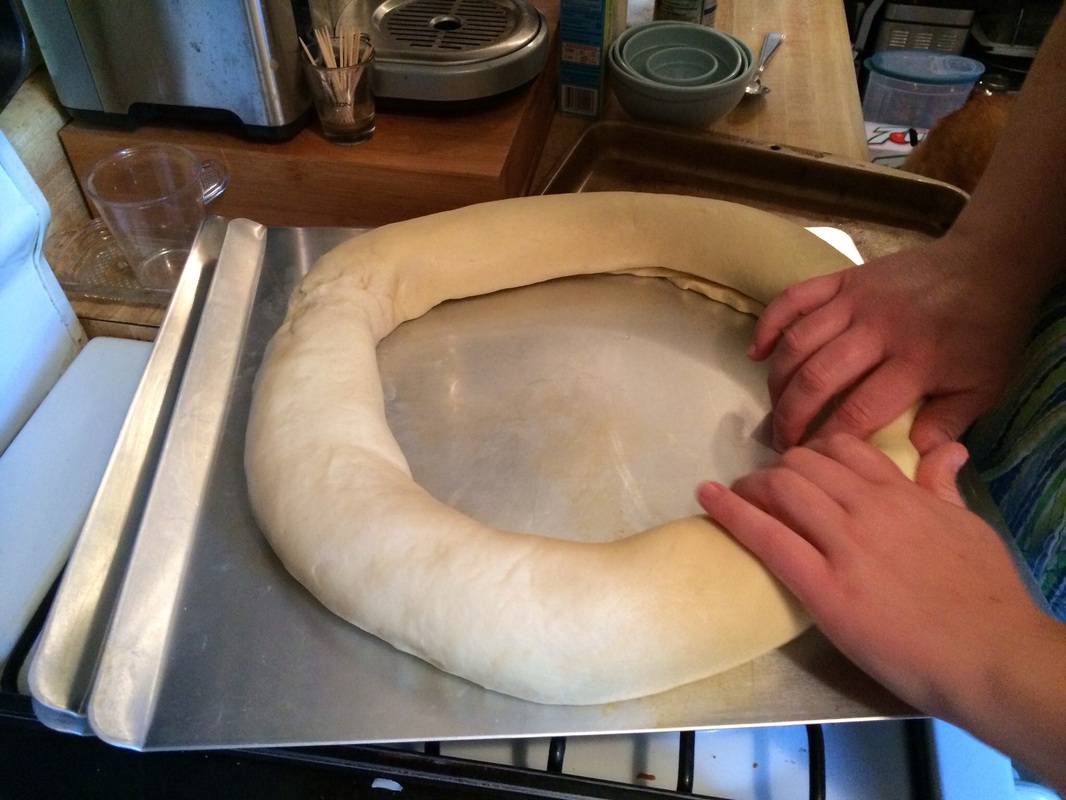
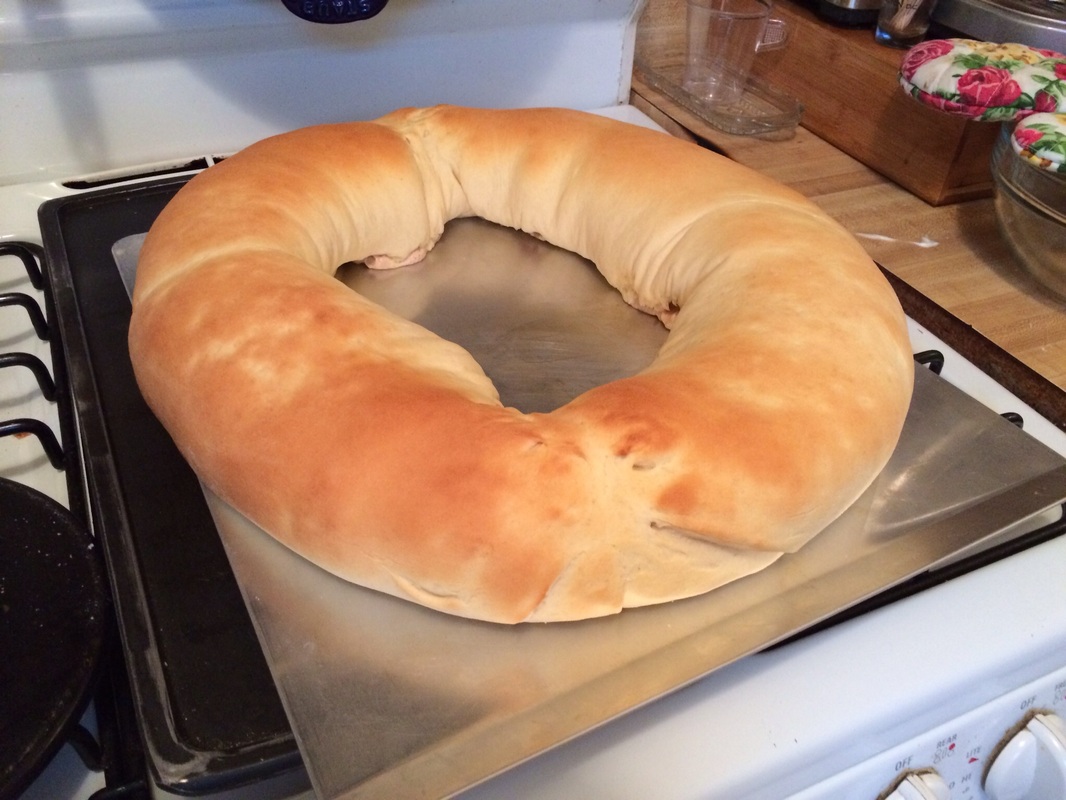
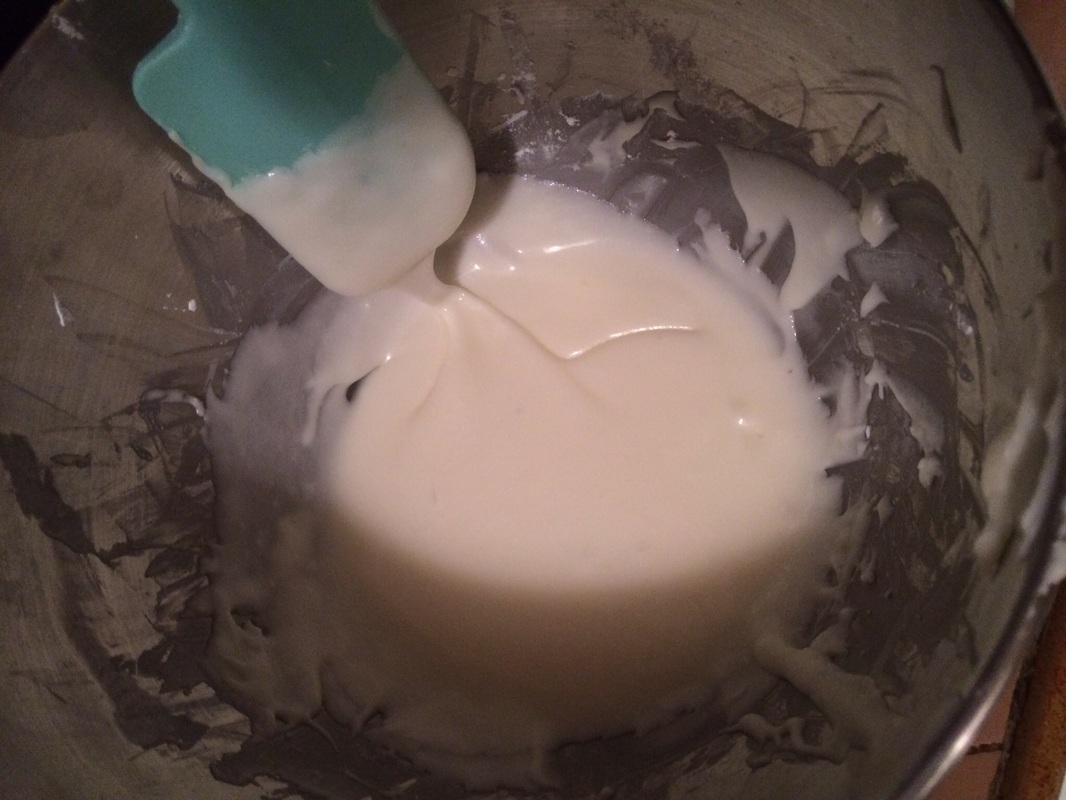
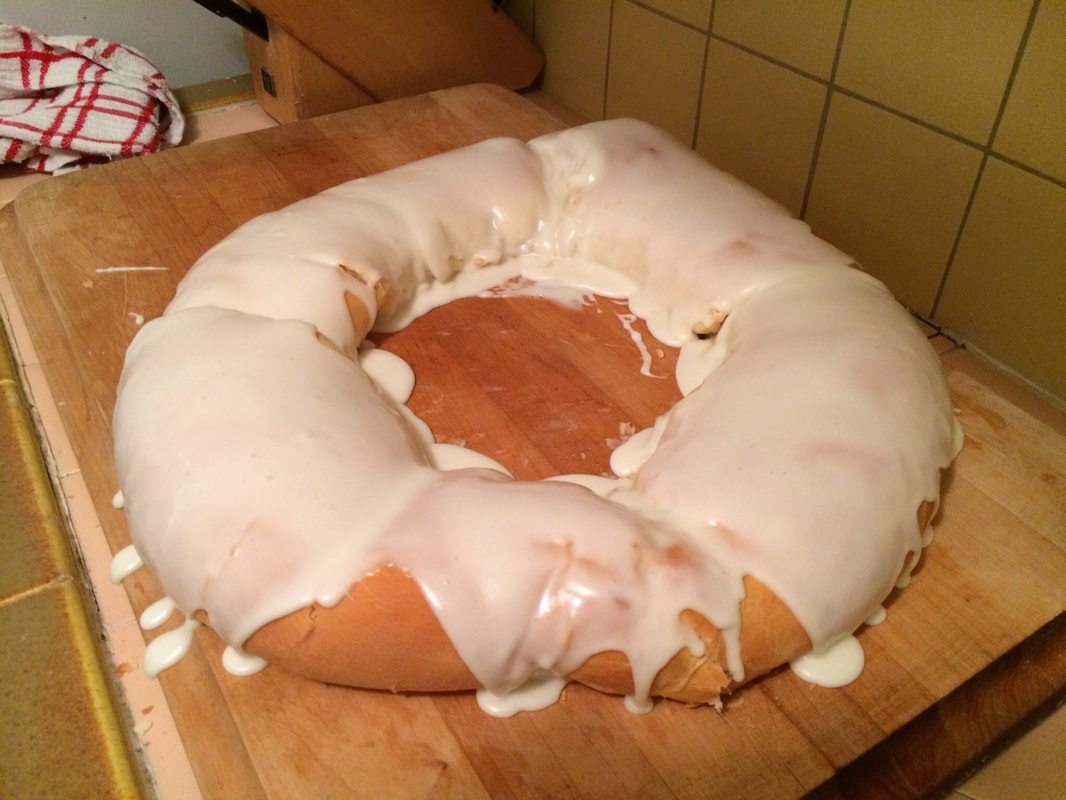
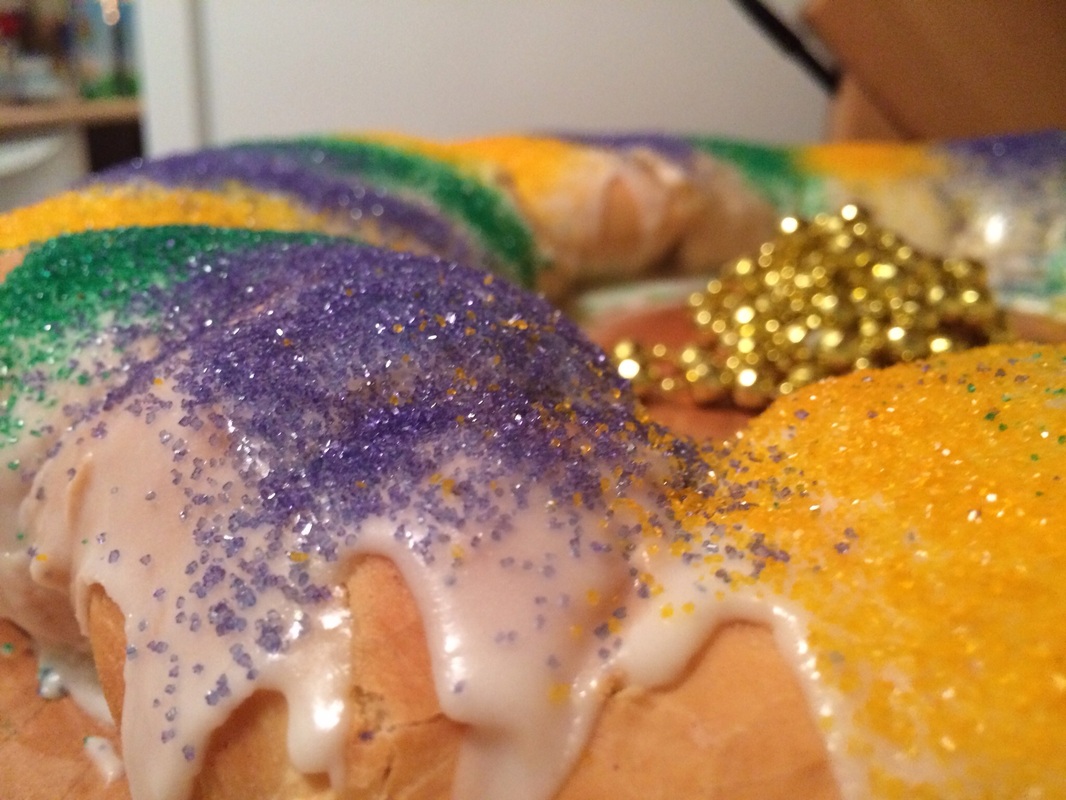
Ingredients: 1 (16-ounce) container sour cream 1/3 cup sugar 1/4 cup butter 1 teaspoon salt 2 (1/4-ounce) envelopes active dry yeast 1/2 cup warm water (100° to 110°) 1 tablespoon sugar 2 large eggs, lightly beaten 6 to 6 1/2 cups bread flour 1/3 cup butter, softened 1/2 cup sugar 1 1/2 teaspoons ground cinnamon Purple-, green-, and gold-tinted sparkling sugar sprinkles Preparation: Cook first 4 ingredients in a medium saucepan over low heat, stirring often, until butter melts. Set aside, and cool mixture to 100° to 110°. Stir together yeast, 1/2 cup warm water, and 1 tablespoon sugar in a 1-cup glass measuring cup; let stand 5 minutes. Beat sour cream mixture, yeast mixture, eggs, and 2 cups flour at medium speed with a heavy-duty electric stand mixer until smooth. Reduce speed to low, and gradually add enough remaining flour (4 to 4 1/2 cups) until a soft dough forms. Turn dough out onto a lightly floured surface; knead until smooth and elastic (about 10 minutes). Place in a well-greased bowl, turning to grease top. Cover and let rise in a warm place (85°), free from drafts, 1 hour or until dough is doubled in bulk. Punch down dough, and divide in half. Roll each portion into a 22- x 12-inch rectangle. Spread 1/3 cup softened butter evenly on each rectangle, leaving a 1-inch border. Stir together 1/2 cup sugar and cinnamon, and sprinkle evenly over butter on each rectangle. Roll up each dough rectangle, jelly-roll fashion, starting at 1 long side. Place one dough roll, seam side down, on a lightly greased baking sheet. Bring ends of roll together to form an oval ring, moistening and pinching edges together to seal. Repeat with second dough roll. Cover and let rise in a warm place (85°), free from drafts, 20 to 30 minutes or until doubled in bulk. Bake at 375° for 14 to 16 minutes or until golden. Slightly cool cakes on pans on wire racks (about 10 minutes). Drizzle Creamy Glaze evenly over warm cakes; sprinkle with colored sugars, alternating colors and forming bands. Let cool completely. Cream Cheese-Filled King Cake: Prepare each 22- x 12-inch dough rectangle as directed. Omit 1/3 cup softened butter and 1 1/2 teaspoons ground cinnamon. Increase 1/2 cup sugar to 3/4 cup sugar. Beat 3/4 cup sugar; 2 (8-ounce) packages cream cheese, softened; 1 large egg; and 2 teaspoons vanilla extract at medium speed with an electric mixer until smooth. Spread cream cheese mixture evenly on each dough rectangle, leaving 1-inch borders. Proceed with recipe as directed. At the end of the baking, I tested the cake for doneness with a toothpick and found that it came out clean from several spots. Since I had left it in for the maximum time and let it brown to an appropriate color, I assumed it was done. However, after decorating I found it had a few parts that were not fully cooked. I ended up putting it back in and allowing it a little more time to finish cooking. All in all, not a disaster, but definitely a great lesson in making sure things are cooked through fully. The cake turned out tasting great. It was a lot of work, especially kneading the dough and making sure I gave it appropriate time to rise. The dough was soft and tasty at the end, and was a wonderful and festive cake to celebrate with for Mardi Gras! Special thank you to Educationism for the lovely pictures! Welcome to my 20% blog for Learning and Technology! When I first thought of this project idea, a million thoughts started flowing into my head about activities I could partake in. While there are many out there that would have been amazing and fun, a long-time passion of mine has always been in the kitchen: cooking, baking, and creating food for people to enjoy. I love baking especially, and though I have experimented in the past a little bit, I am by no means a baked goods connoisseur.
I have decided to settle on pursuing my passion for baking this semester. Specifically, I would like to try to learn more about pastries and certain baked goods that I may have shied away from in the past due to difficulty level or intensity of commitment. I would love to learn more about making French Macarons, eclairs, and puff pastries; researching how to emulate fun and different ideas, such as the infamous NYC Cronut; and baking complex layer cakes, cupcakes, cookies, and other fun baked goods. I love the idea of tackling pastry making and even earning school credit while doing so!
I plan on using many layers of social media, blogs, youtube videos, online magazines, and print media to help educate myself on how to create pastries and baked goods. I am going to aim to bake at least every other week, with hopes of creating a new product each week. Due to the limitations such as cooking costs and baking space I do not want to plan on being able to make something on a weekly basis. I will therefore spend my time gaining knowledge on the specific "how-to" process of pastry making in between baking sessions. One of my favorite ways to cultivate knowledge on pastries and baked goods is through Pinterest. On my account, I will be pinning various picture ideas of tasty treats as well as links to certain recipes that I think might be interesting to try. I do not want to worry about coming up with my own recipes for this project, but rather trying to follow existing ones and concern myself with executing delicious baked goods. I will keep this blog updated with my new adventures and hope I can drop some baking knowledge on my followers. For those readers who are in class, please look forward to sampling my efforts in class after some time in the kitchen! I am starting this adventure knowing that I may not make the best pastries or baked goods ever made. I am starting this knowing that I will come out a more learned and happy person inside and outside of the kitchen at the culmination . So-here's to fun times, new experiences, and happy baking! | AuthorSweet Sara's Bakery! ArchivesApril 2014 Categories |


 RSS Feed